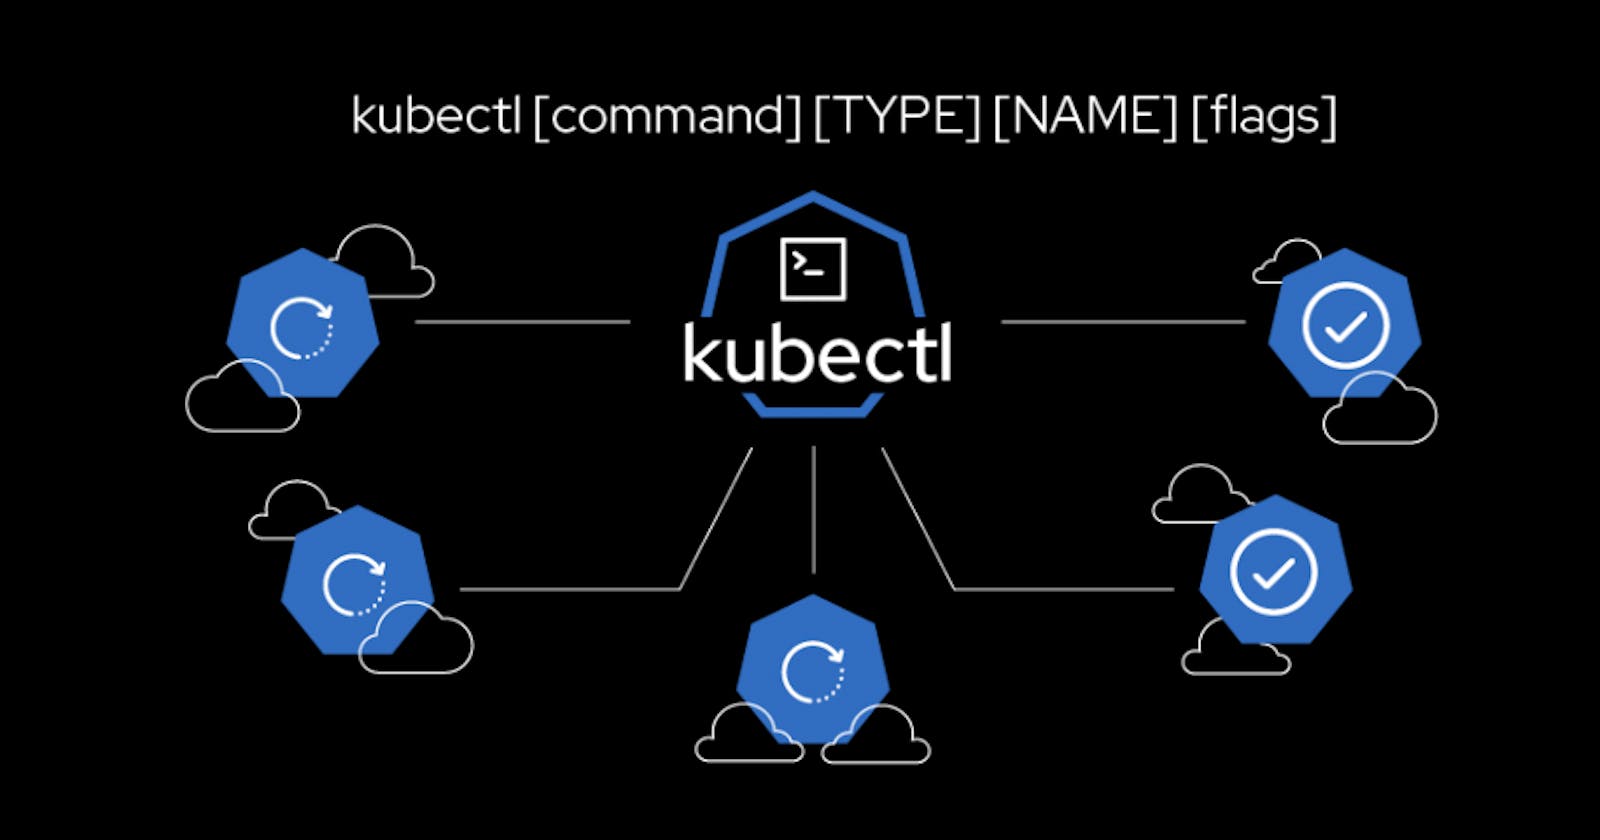
Kubectl and aws cli setup in Linux
Will learn today about how to Setting up kubectl and configuring AWS CLI are crucial steps for managing Kubernetes clusters on Amazon EKS (Elastic Kub
Steps:
Linux:
sudo apt-get update && sudo apt-get install -y kubectlMacOS:
brew install kubectlWindows:
Download the latest version of
kubectlfrom the official Kubernetes release page: kubernetes.io/docs/tasks/tools/install-kube..Add the downloaded executable to your system's PATH.
Verify the installation:
kubectl version --short --client
Configuring AWS CLI:
Install AWS CLI:
- Follow the instructions here: docs.aws.amazon.com/cli/latest/userguide/cl..
Configure AWS CLI:
aws configure- You'll be prompted to enter your AWS access key, secret key, default region, and output format.
Verify AWS CLI Configuration:
aws ec2 describe-instances
Setting up AWS IAM for EKS:
Create IAM Role:
Open the IAM console in the AWS Management Console.
Navigate to "Roles" and click "Create Role."
Choose "EKS" as the service that will use this role and select "Allows Amazon EKS to manage your clusters."
Attach Policies:
- Attach the policies
AmazonEKSClusterPolicyandAmazonEKSServicePolicyto the role.
- Attach the policies
Create Kubernetes Config:
After creating the EKS cluster, update your
kubeconfigwith the cluster details.aws eks --region <region> update-kubeconfig --name <cluster_name>
Verify Configuration:
kubectl get nodes
Additional Tips:
Ensure that you have the necessary AWS CLI and
kubectlversions compatible with your EKS cluster.Always follow security best practices, such as restricting AWS IAM permissions to the minimum required.
Keep your AWS CLI and
kubectlconfigurations secure, especially access keys and secrets.
These steps provide a basic setup for using kubectl with AWS EKS. For more detailed information, refer to the official documentation for kubectl and AWS CLI.
#everystepstowardmoreproductivity
#staycurious
#stayhealthydeveloper
